
WEEK- 2 Sep-21
INTERIOR WORKS
The visit began with the safety orientation and the instructor provided us PPE (Personal Protective Equipment) which included safety vests, protective glasses, and construction shoes. We started the observation with the top floor and ended with the parking lot.

-
23rd Floor: Crane was lifted and bar bending was also started simultaneously.
-
22nd Floor: Construction Completed and started with the construction of building entrance for the installed temporary elevator (Buck Hoist).
-
21st and 20th Floor: Reshores were installed to support the concrete slab.
-
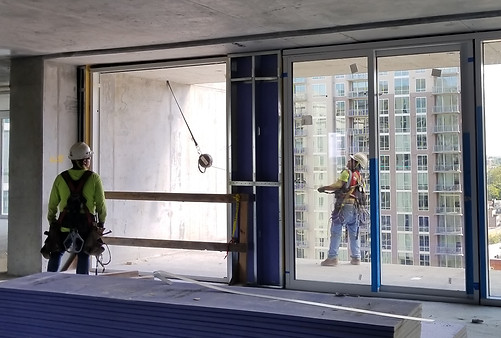
19th and 18th Floor: Done with the marking of bathroom and window installation. (Refer Image)
-
17th and 16th Floor: Recently started painting the exterior part with the waterproof paint
-
15th, 14th, and 13th Floor: Successfully completed the exterior work and also installed the supporting steel frame.
-
12th and 11th Floor: Started with the framing of Interior walls and also procured necessary material for that.
-
10th, 9th, and 8th Floor: MEP (layout), HVAC, and Duct work started this week.
-
Below the 7th Floor: Successfully completed installation of Air conditioning vents, optical fiber, Electrical outlets, drywall fitting, bathroom and kitchen installations, doors, fire-safety points. HVAC was also closed for painting and finishing.
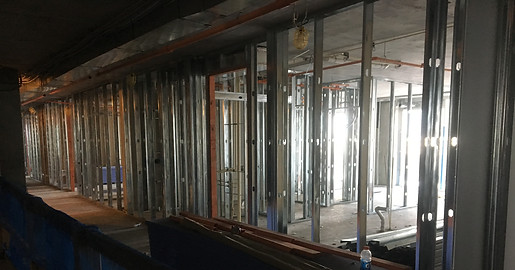
Step 1: First the floor was marked according to the blueprint of the interior wall layout. After that, they were using an aluminum alloy for wall framing. The purpose is to make it corrosion free, durable and lightweight.


Step 2: The regular water pipe and sprinkler pipe were molded along with the aluminum frame.
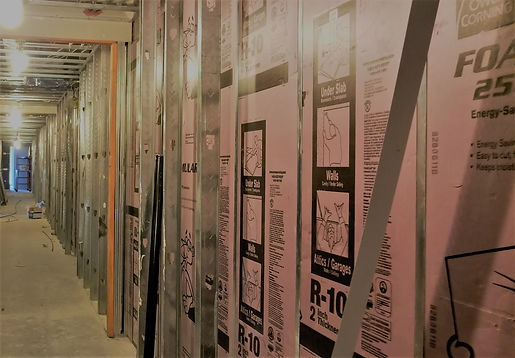
Step 3: As you can see in Image, HVAC (Heating, Ventilation, and Air Conditioning) and electrical wiring work were completed after the plumbing installation.


Step 4: After providing necessary insulation around the HVAC, electrical and plumbing work, 2 inch R10 drywall installed on both side of aluminum framing.
Step 5: Corners of drywalls were done with the joint compound called ‘Mud’ and after every 24 hours, subsequent plaster coats up to 3 were applied for wall finishing.


Step 6: Skirting and door were fitted. The Floor tilling of the restrooms was started and then the fittings were installed.
FLOOR PROGRESS
INTERIOR WORKS